Sending an AS2 Message
After completing the station and partner configuration, we can try sending a message. First, go to compose message view using the Compose button on the Messages view.
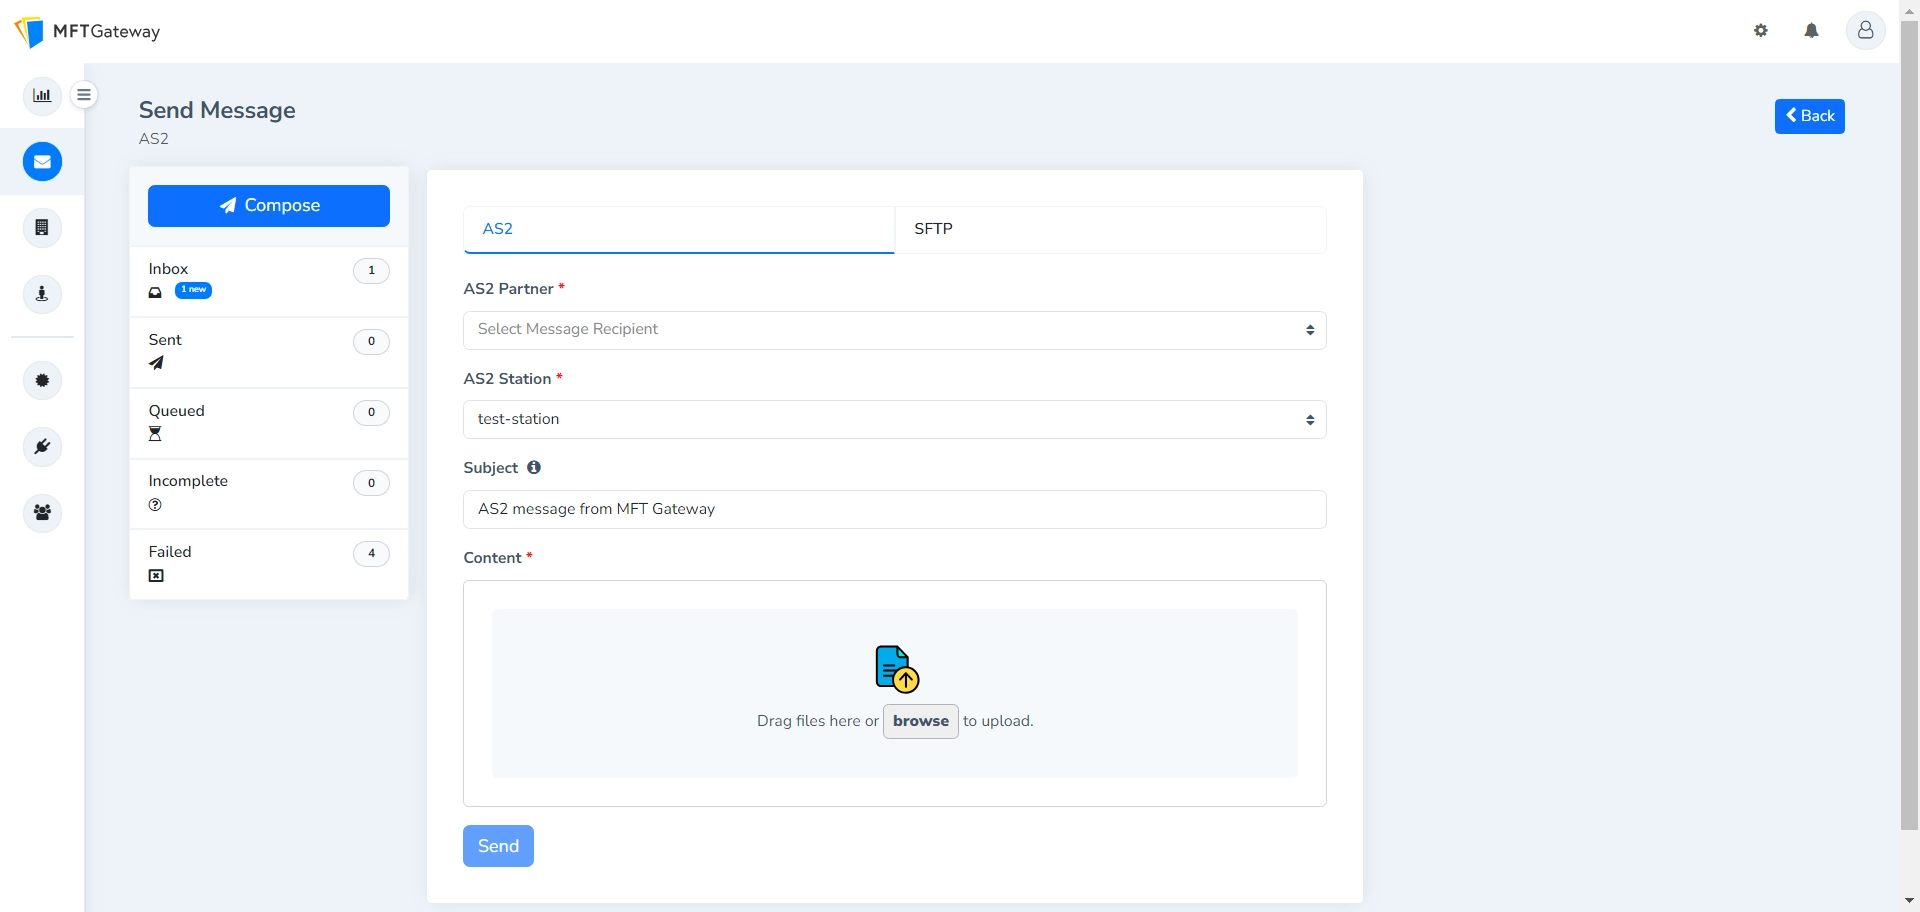
You will be shown a view as follows:
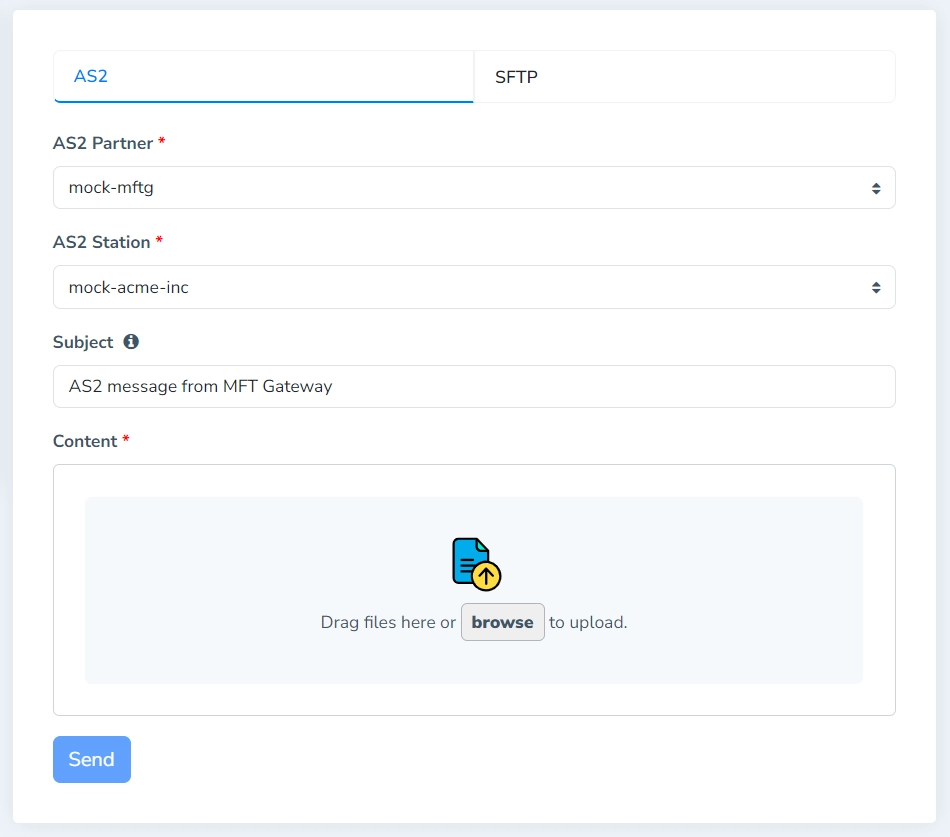
Let’s compose an AS2 message.
- Select the partner you want to send a message to. If you only have one partner, it will come selected by default.
- Select the station you want to send messages from. Again, if you only have one station, it will come selected by default.
- Optionally, specify a message subject. If you keep this empty, the default subject set in partner configuration will be used.
- Select the files to be sent. You can either drag and drop them to the dropzone or you can browse and select the files.
- Submit the message to the queue by clicking the Send button.
Content-Type / MIME-type
MFT Gateway automatically assigns Content-Type headers to submitted files, by extension:
| File extension | Content-Type |
|---|---|
| .txt | text/plain |
| .xml | text/xml |
| .edi | application/EDI |
| .x12 | application/EDI-X12 |
| .edifact | application/EDIFACT |
| (default; other .types or missing extension) | application/octet-stream |
Alternatively if you are submitting files through the REST API or AWS S3, you can explicitly specify a content type with the submission/upload itself (without having to adjust the filename/extension as above).
Message lifecycle
When you submit, the message will be added to a queue and you will be redirected to the Queued Messages view. From there, you can check on the status of the message. The view will automatically refresh every 10 seconds, showing the latest status of the queue.
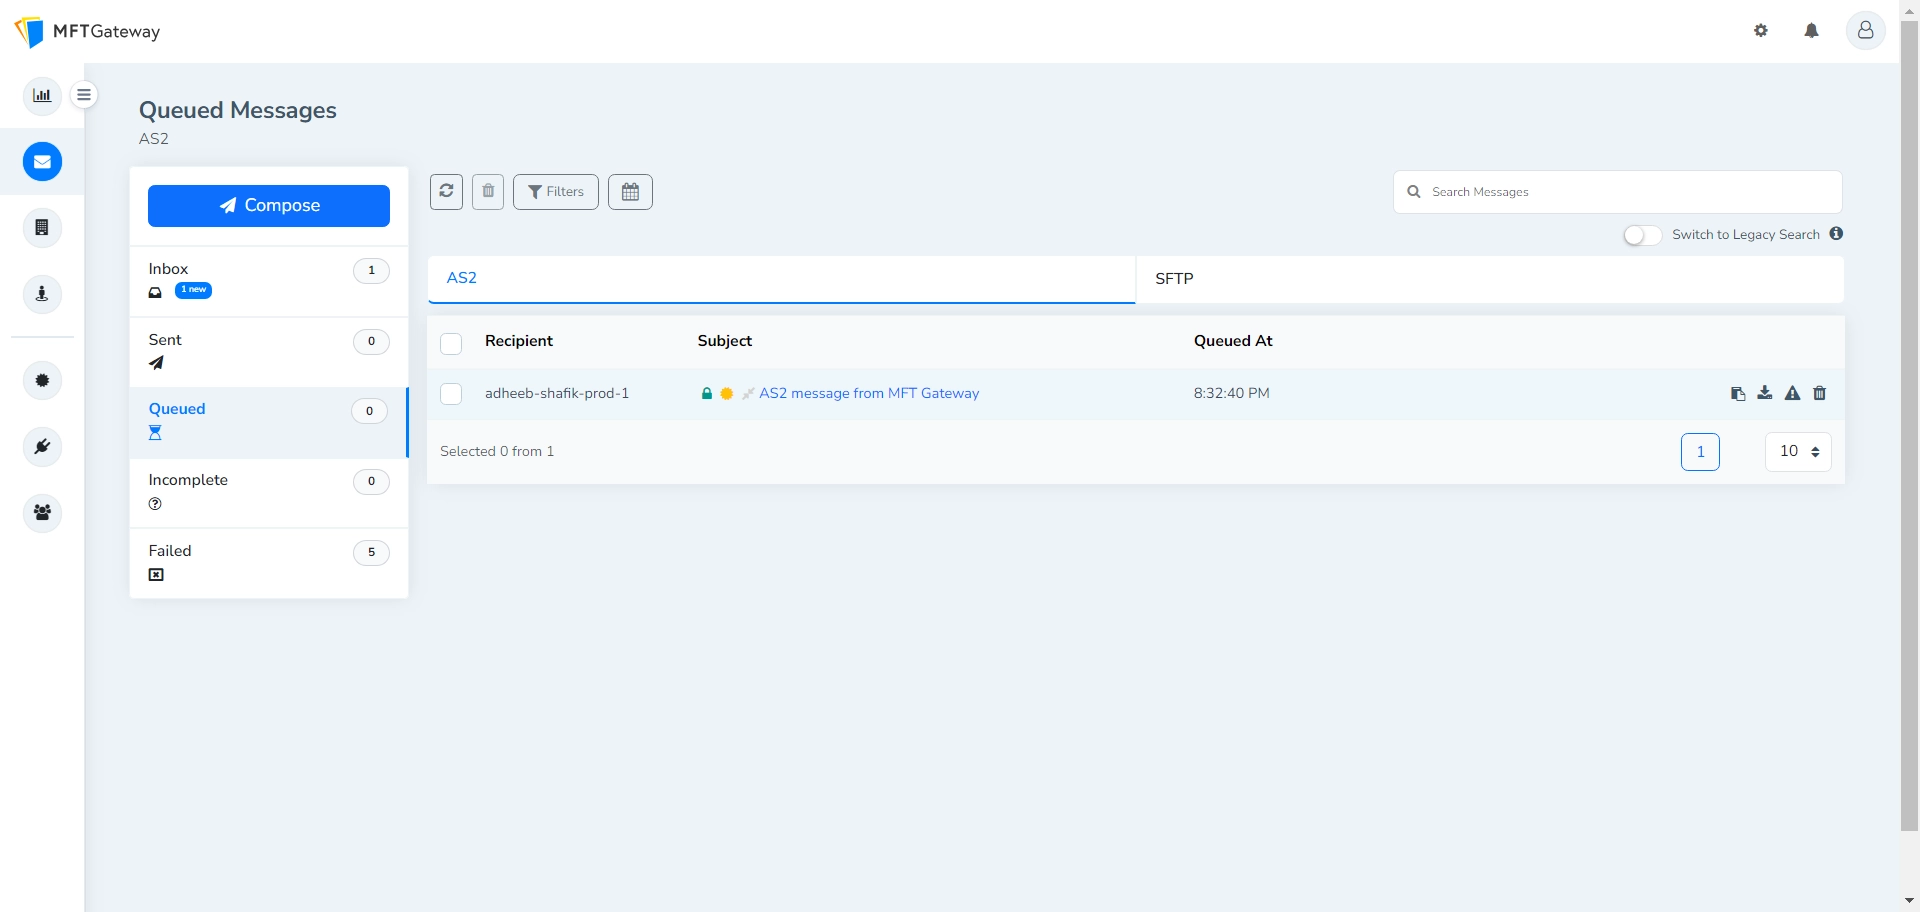
If the queued message is delivered successfully to the recipient, the message will move to the Sent Messages view.
If the queued message encounters any failure, the message will move to either Incomplete Messages or Failed Messages view depending on the nature of the error.
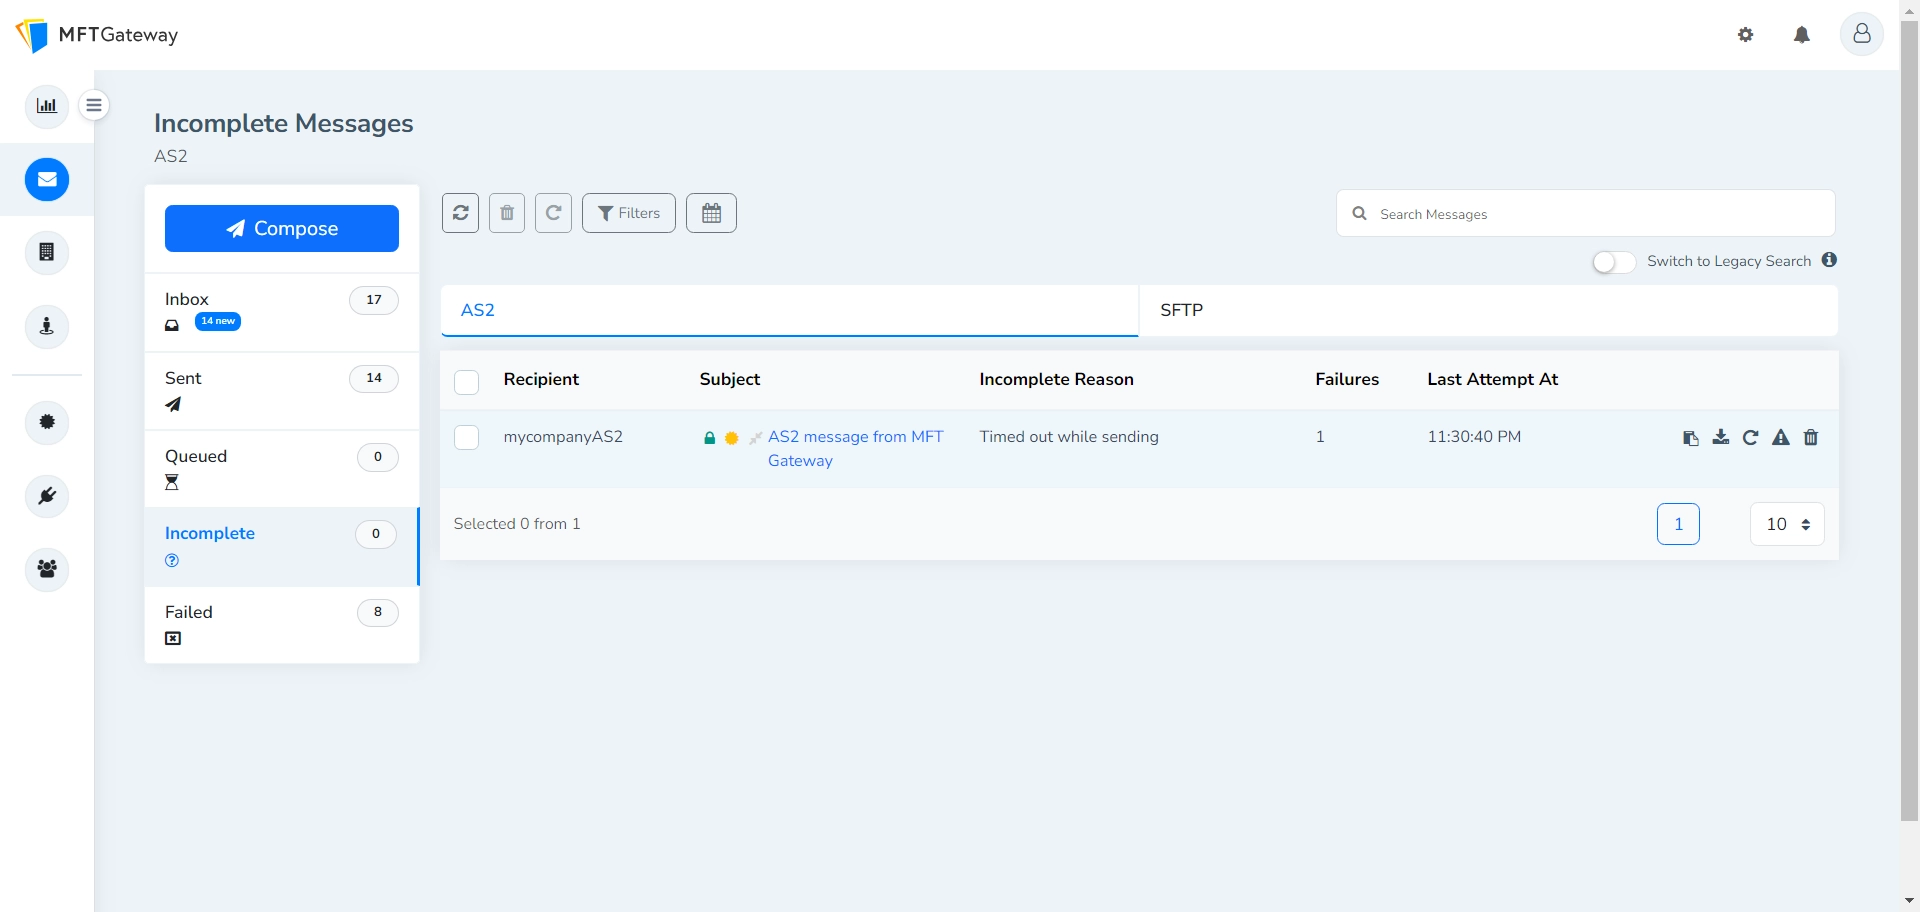
If the message is accepted by the trading partner but failed to acknowledge back within the maximum waiting time, MFT Gateway will mark the outgoing message as Incomplete and the message will be added to the Incomplete Messages view. If the user already enabled Auto Retry Send Incomplete Messages from the Manage Partner view of the relevant trading partner, then MFT Gateway will automatically retry incomplete messages up to a maximum of 10 retries. In that case, the trading partner might receive duplicate messages, if they already process any previous message(s) successfully from their end.
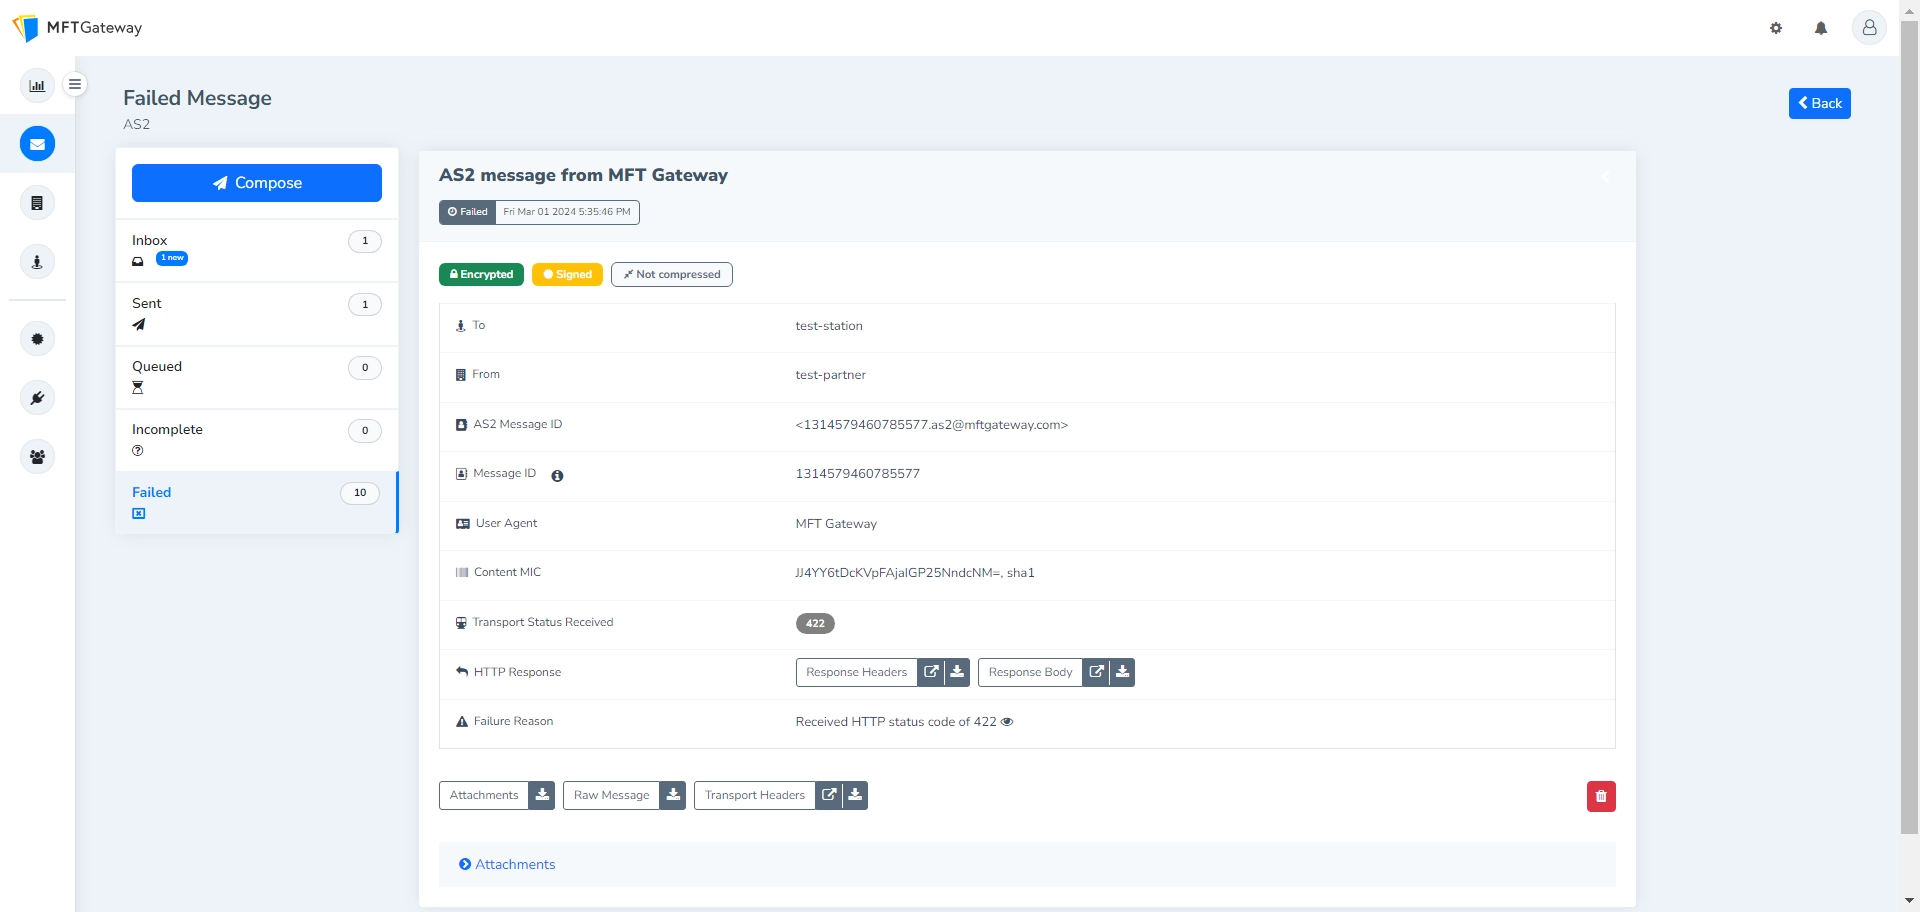
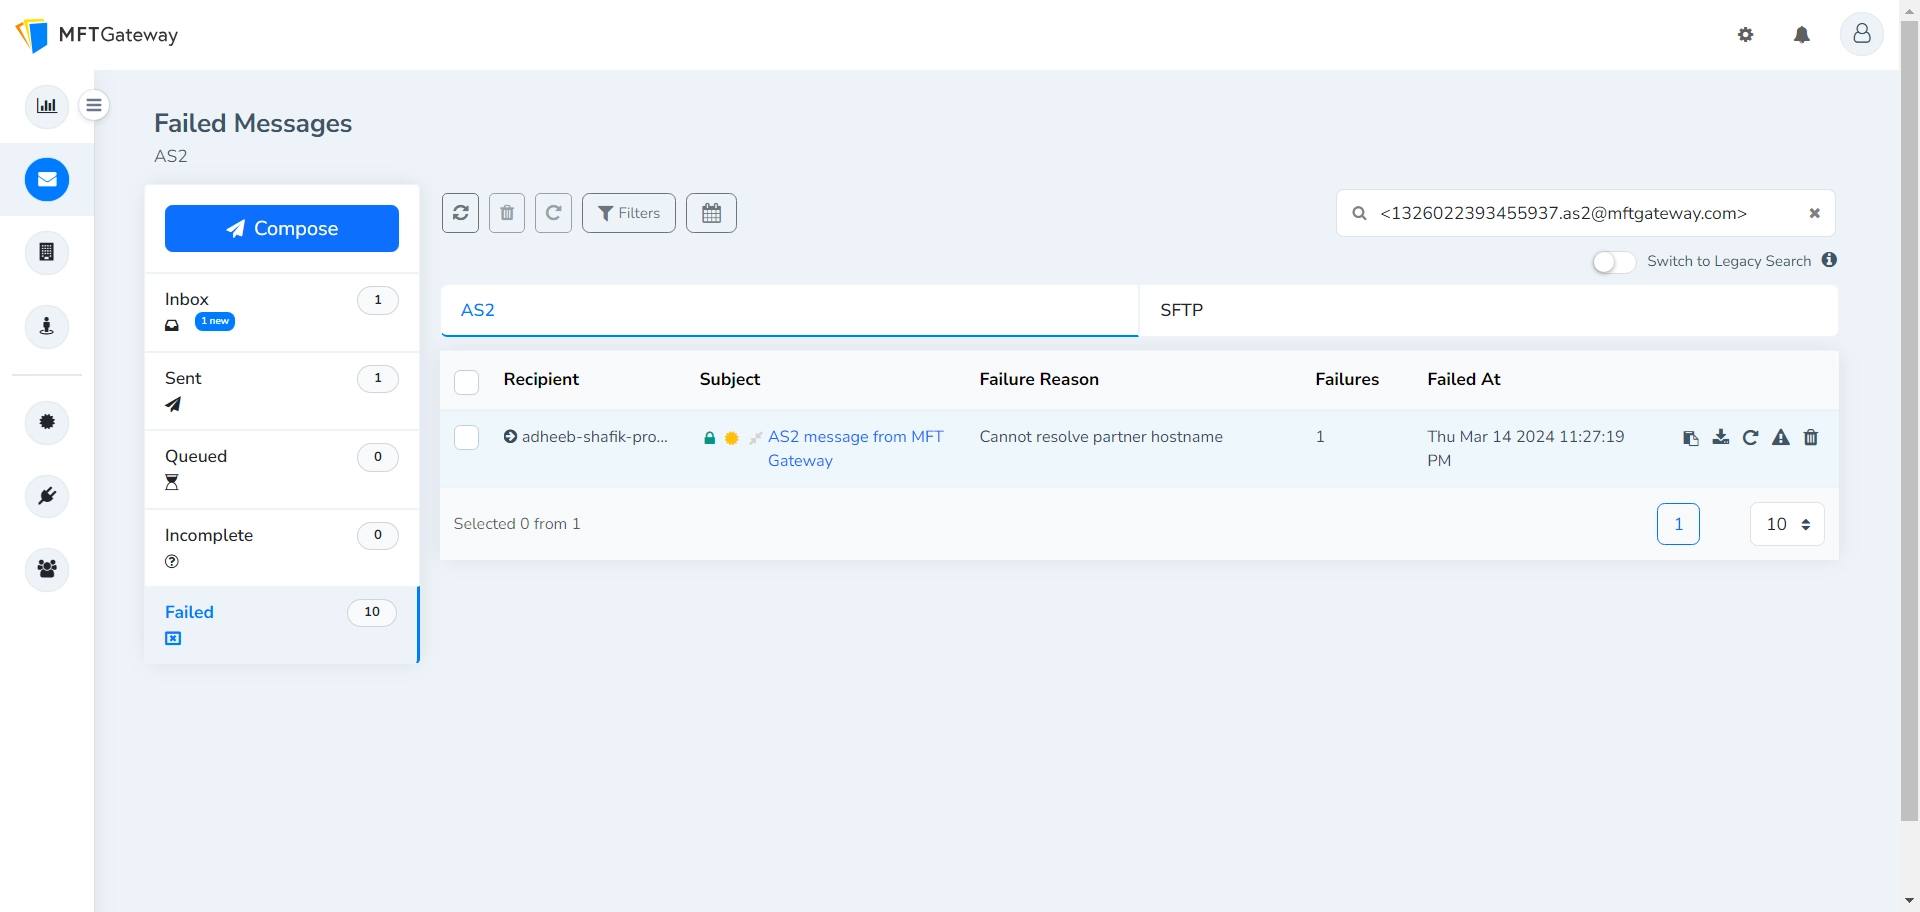
- Else, the message will be added to the Failed Messages view. In this case, you can click the message entry in the failures list, and check the Failure Reason field to find the cause. Once you fix the issue, click the Retry button “” on the failed entry to re-queue it for delivery.
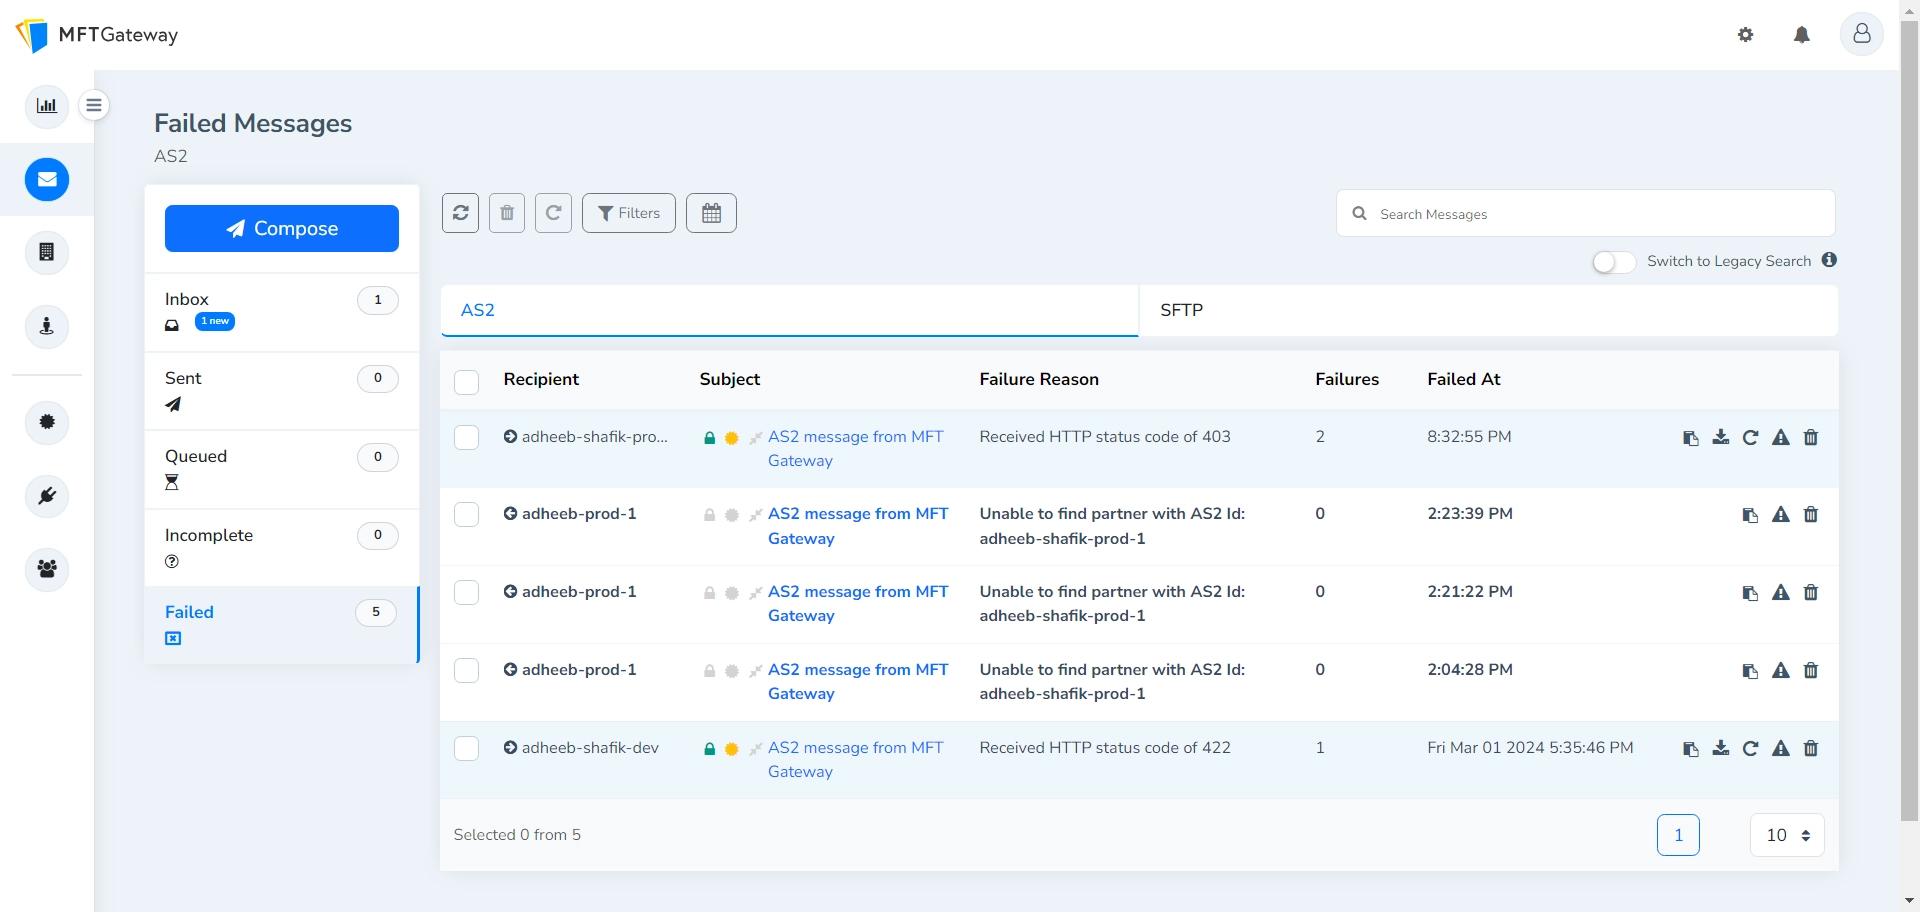
Incoming messages that encounter unexpected failures upon reaching the MFTG server will persist within MFTG regardless. These messages will be moved to the Failed Messages view and you would be able to identify it by the left-pointing arrowhead observed in the icon under the Recipient column.
If you wish to check the error logs of the failed message to further understand the cause of the error, you can click on the triangular action icon “” on the right hand side of the message row. Additionally, you can also view it by navigating to the messages’ detailed view, and click on the icon in the Failure Reason field.
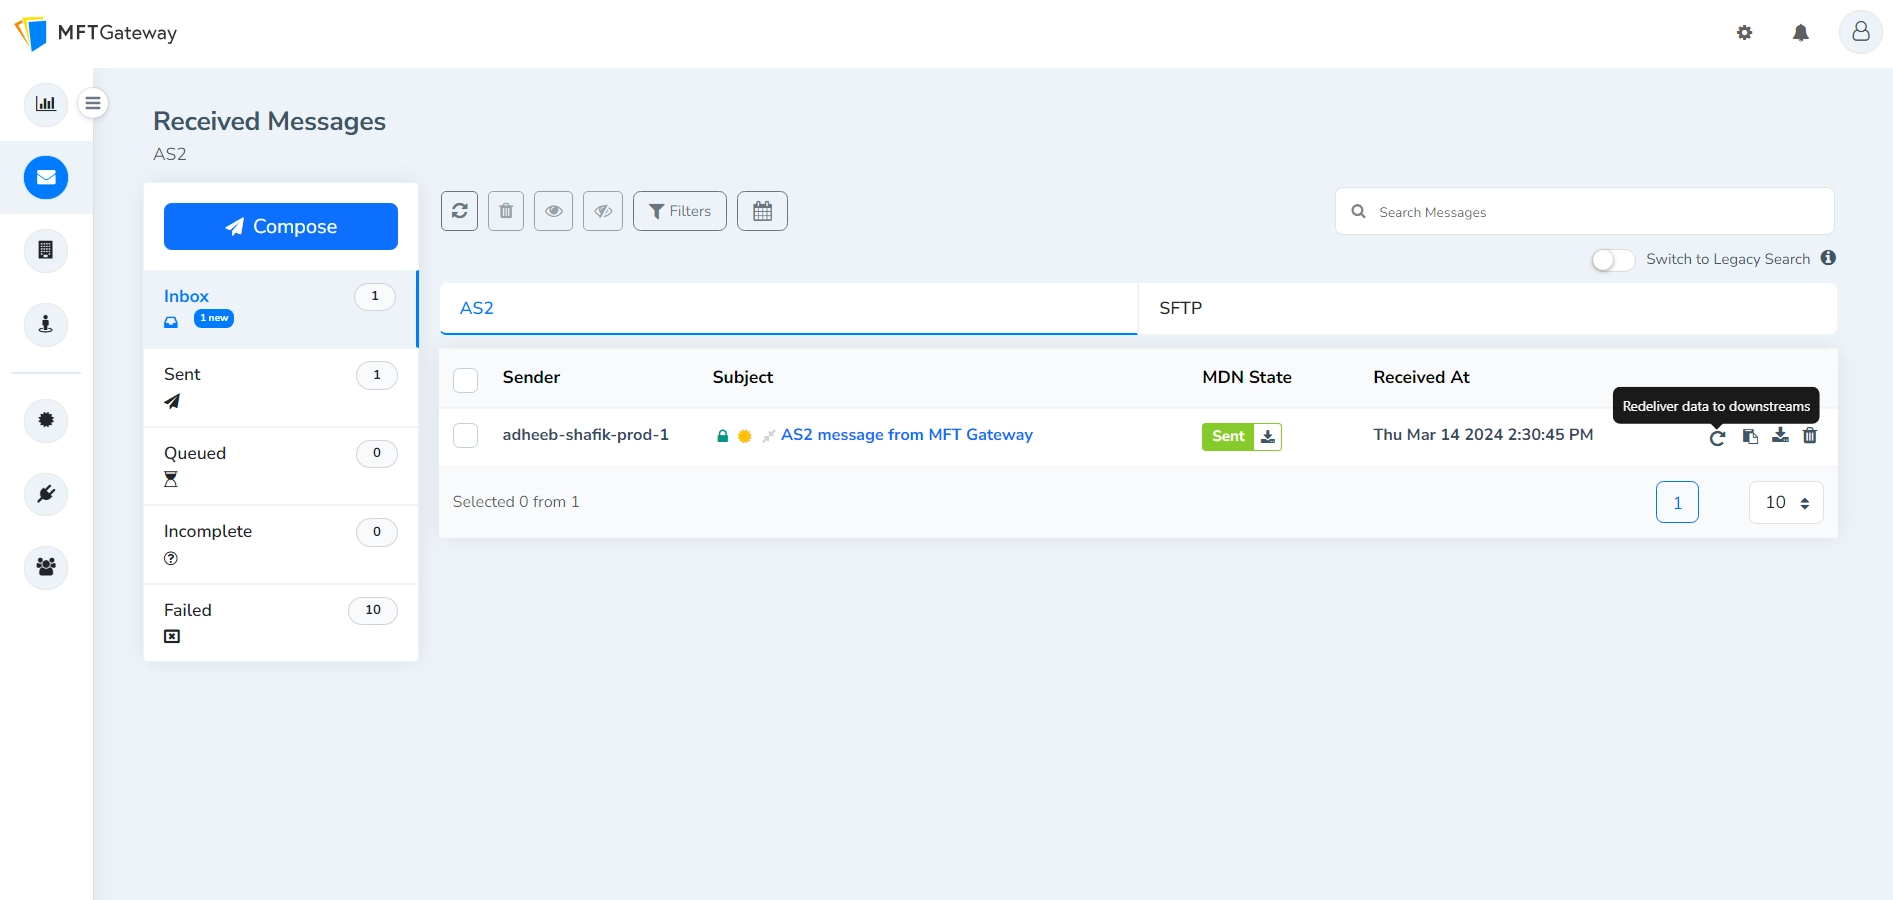
- If a received message has failed to integrate with the webhook or EDIG, you may manually retrigger the webhook or EDIG on incoming messages by clicking on the retry action button for the relevant message.
Message Search and Filter
You can search for messages in any message list view by the messages’ identifier, subject or attachment name. You may input either a partial, precise, or wildcard search query to obtain the expected result.
You can further filter messages by specifying the partner and/or station identifiers selected through the Filters option located on the search bar row. Moreover, you can filter messages based on their relative or absolute timestamps by clicking on the calendar icon on the same row.
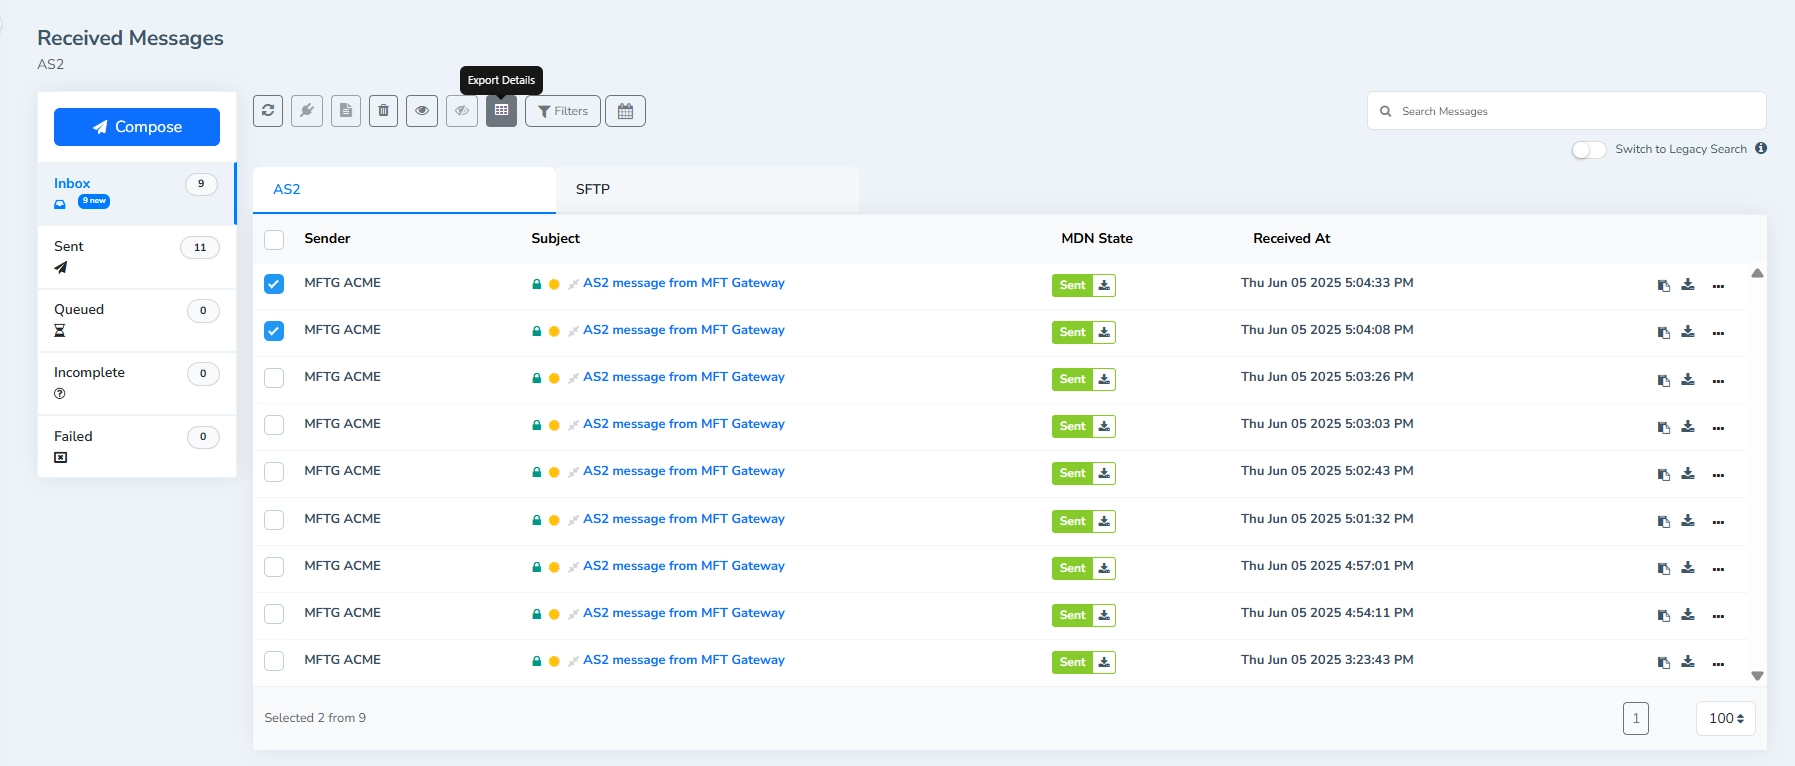
Export Message Details as CSV file
You can export message details as a CSV file from any message list view, for either single or multiple messages.
You can select one or more messages in any message list view. Once selected, the export icon is enabled, allowing them to download the message details as a CSV file.
