AWS S3 Integration
You can configure AS2 Gateway to use an Amazon Web Services (AWS) S3 storage bucket, as the point of integration and automation:
- AS2 Gateway will place incoming files into the bucket, from where you can download them directly.
- you can submit outgoing files by uploading them to the desired station-partner subpath on the bucket.
Visiting the AWS S3 menu item, you can navigate to the S3 integration configuration page. Direct S3 integration will be helpful where backend systems processing incoming files are executing in a native AWS environment, like Lambda functions etc.
1 AWS S3 Bucket and Access Credentials
AS2 Gateway follows a “bring your own bucket” model. You would create or use your own bucket (in your own AWS account) and grant AS2 Gateway minimal access to write/read its content. The actual content of the bucket is under your own ownership, control, and maintenance schedule.
If you are new to AWS, you can create an account for free and get started quite easily; however if you want AS2 Gateway to provision a bucket for you instead, contact our team for more details.
First create a new bucket on your desired AWS account, and note its region.
Note: To get started quickly, you can simplify the next step by using any AWS IAM keypair with sufficient permissions (e.g.
AdministratorAccessorAmazonS3FullAccess); however it is generally recommended to set up a separate keypair with minimum privileges as described below, especially for production use and automation.- Next, create a security policy as shown below. Replace the text ‘
<bucket-name>’ (4 occurrences) with the name of your S3 bucket.{ "Version": "2012-10-17", "Statement": [ { "Sid": "SaveToas2gateway", "Effect": "Allow", "Action": [ "s3:DeleteObject", "s3:PutObject" ], "Resource": "arn:aws:s3:::<bucket-name>/as2gateway/*" }, { "Sid": "ListAS2send", "Effect": "Allow", "Action": "s3:ListBucket", "Resource": "arn:aws:s3:::<bucket-name>", "Condition": { "StringLike": { "s3:prefix": [ "<bucket-name>/AS2/send/*", "AS2/send/*" ] } } }, { "Sid": "FetchFromAS2send", "Effect": "Allow", "Action": [ "s3:DeleteObject", "s3:GetObject" ], "Resource": "arn:aws:s3:::<bucket-name>/AS2/send/*" } ] }Note: You can customize the security policy further if desired
- Then create a user with programmatic access (i.e. having an Access key and Secret Key pair), assigned with the aforementioned policy.
2. Configure S3 bucket and credentials on AS2 Gateway
Now, open the AWS S3 integration page on AS2 Gateway. Provide the plain S3 bucket name without any s3:// prefix, the region, and the access and secret keys in the page as shown below, and click Setup AWS S3 button.
By default, S3 integration will be enabled for incoming files (i.e. saving of received files into the bucket). If you also wish to submit outgoing files by means of S3 uploads, you can enable it under the Advanced Options section.

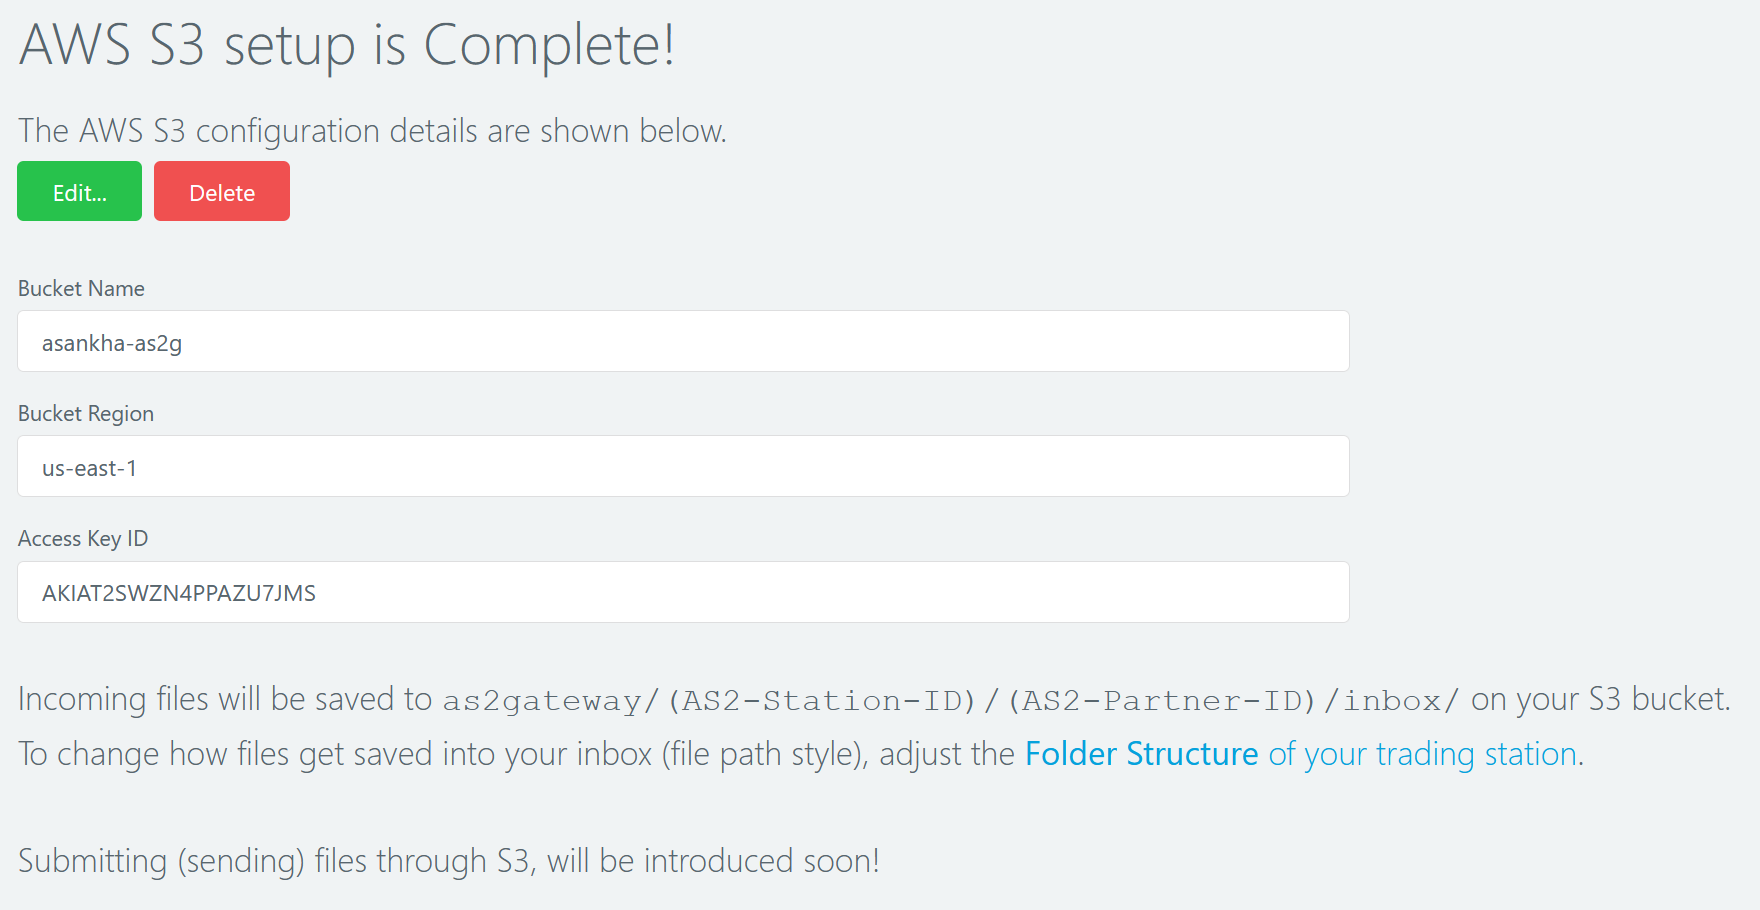
AS2 Gateway will first perform a series of S3 operations on your bucket, to ensure that the provided credentials have sufficient permissions to access the bucket. (It will automatically revert/clean up the results after completion.) If there is any issue encountered during the access check, AS2 Gateway will flag the error and refuse to proceed. You can then make necessary changes on the configurations and key-pair permissions and re-submit, so that AS2 Gateway can re-run the check. Once the integration is performed successfully, you will see an output as follows.

3. Receiving Incoming Files through S3
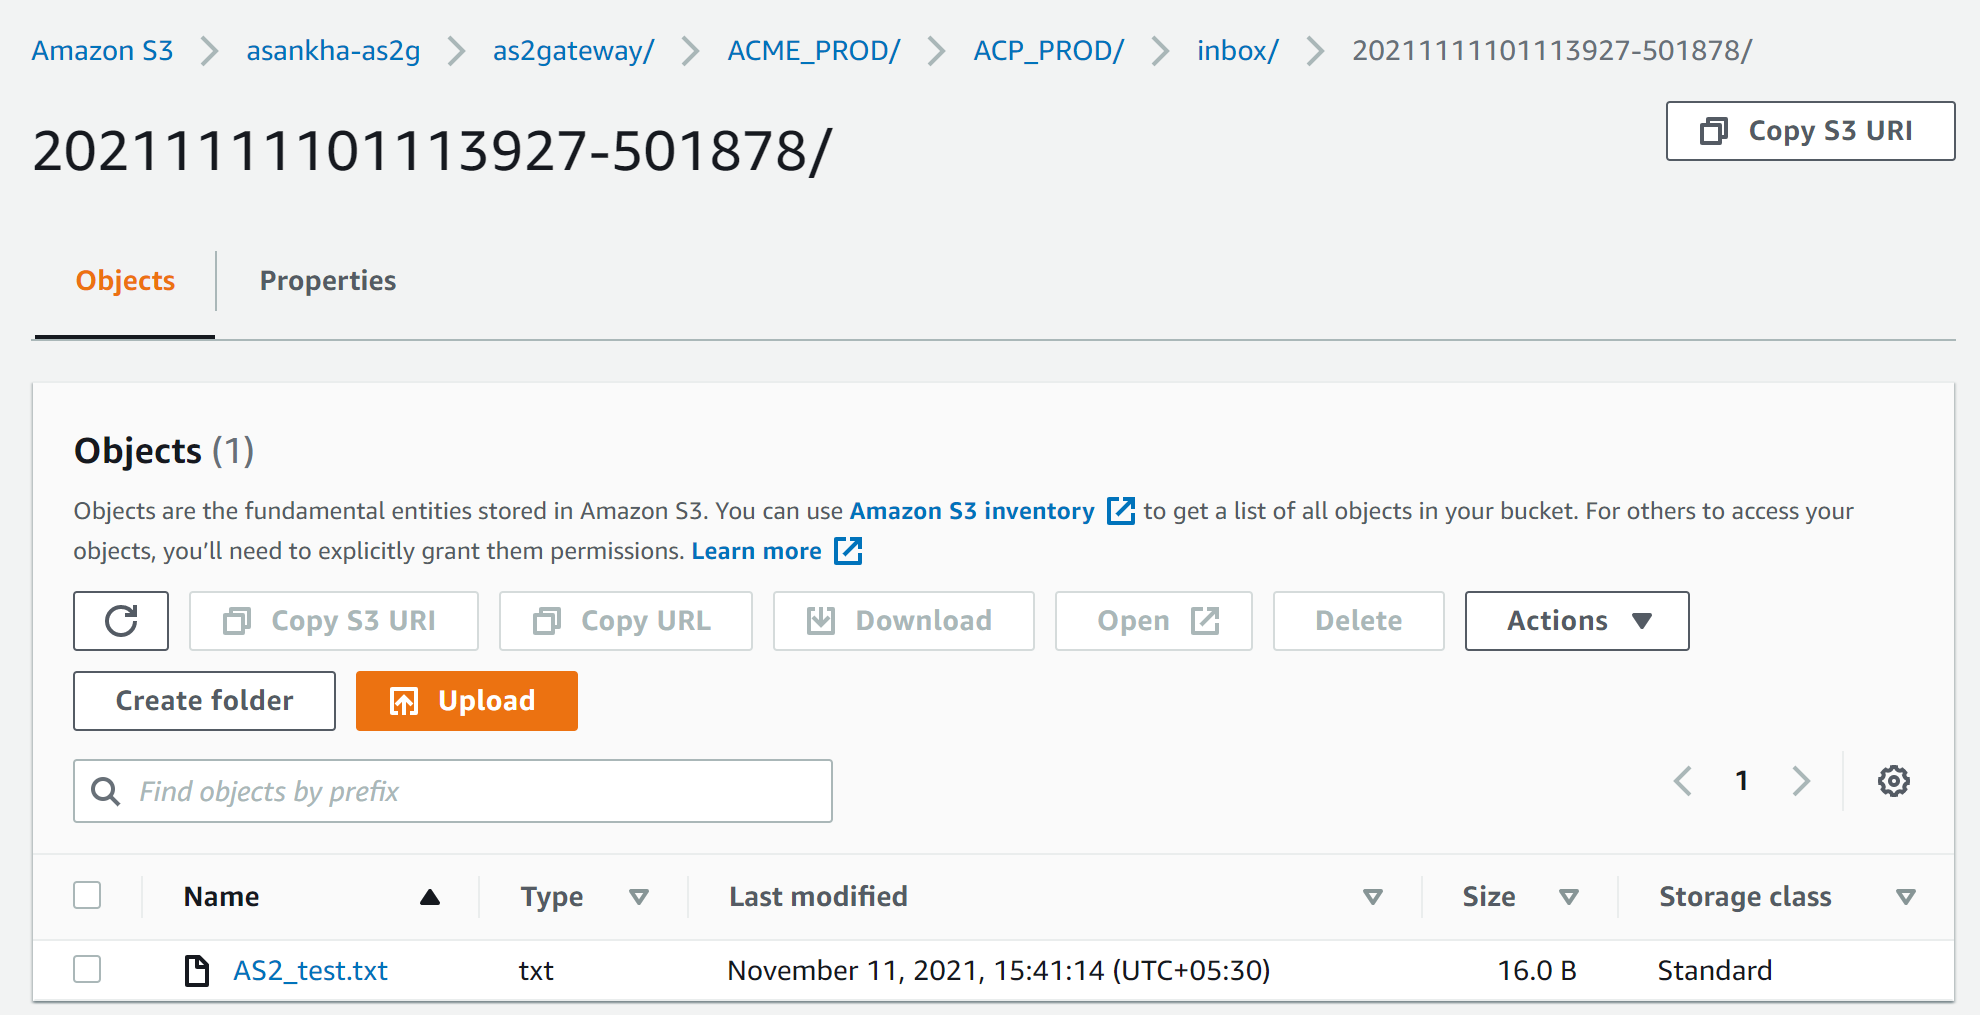
After S3 integration, all files received to your AS2 Gateway trading stations will be saved into the S3 bucket; under the following path/prefix pattern:
as2gateway/(AS2-Station-ID)/(AS2-Partner-ID)/inbox/
Note: This feature requires inbound integration option to be enabled under Advanced Options of your S3 configuration.

Note
- The
as2gateway/..path prefix (“folder”) itself may not become visible in your S3 bucket (e.g. when viewed through the AWS web console), until you actually receive a file/message from the corresponding partner. Also, the prefix may automatically disappear after you remove the received file(s) from your bucket. - Depending on the Partner type (i.e. test vs production), there may be an extra
test/sub-level after the<partner-AS2-ID>/fragment. - Depending on the folder-structure format selected on the receiving trading station, there may be an extra sub-level or file-name prefix after the
inbox/fragment as can be seen in the example above.
For more details on these variations, check the SFTP folder structure documentation
4. Submitting/Sending Files through S3
To submit an outgoing file, upload it to the following path in your S3 bucket:
AS2/send/<station-AS2-ID>/<partner-AS2-ID>/
Note: This feature requires outbound integration option to be enabled under Advanced Options of your S3 configuration.
AS2 Gateway will pick up each file after 15 seconds from their last modification time (to allow extra time for slow/large uploads), add it to the queue for sending out as a separate/new message, and remove it from the bucket.
If any file could not be queued for some reason/error, AS2 Gateway moves it under as2gateway/<station-AS2-ID>/<partner-AS2-ID>/failed/<failure-timestamp>/ and notifies the relevant trading station owner for further action.
Sending multiple files in one message
You can also submit multiple files as a single message, by uploading all of them under one subdirectory/subpath:
AS2/send/<station-AS2-ID>/<partner-AS2-ID>/<subdirectory>/
In this case, AS2 Gateway will pick up the subdirectory after it has remained in steady state for more than 2 minutes (i.e. no new files were uploaded to the subdirectory during the last 2-minute period).
Note
- The
AS2/send/path prefix (“folder”) itself may not be visible in your S3 bucket (e.g. when viewed through the AWS web console). This is not an issue, because S3 allows you to upload files directly to a subpath without creating the parent prefixes/”folders” in advance. - When you enable the outbound integration option, any files that had already been placed inside
AS2/send/(while the option was disabled) will also get picked up for sending, progressively. - If you are sending files to a test-mode partner, the usual test-mode directory structure differences should be applied to all these paths; e.g. for test partners, the partner subpath will be followed by an additional
test/subpath fragment.


